ZOMBIE VALENTINE
Nothing says love on the brain quite like zombie-themed chocolate bark and handmade valentines for your favorite ghouls.
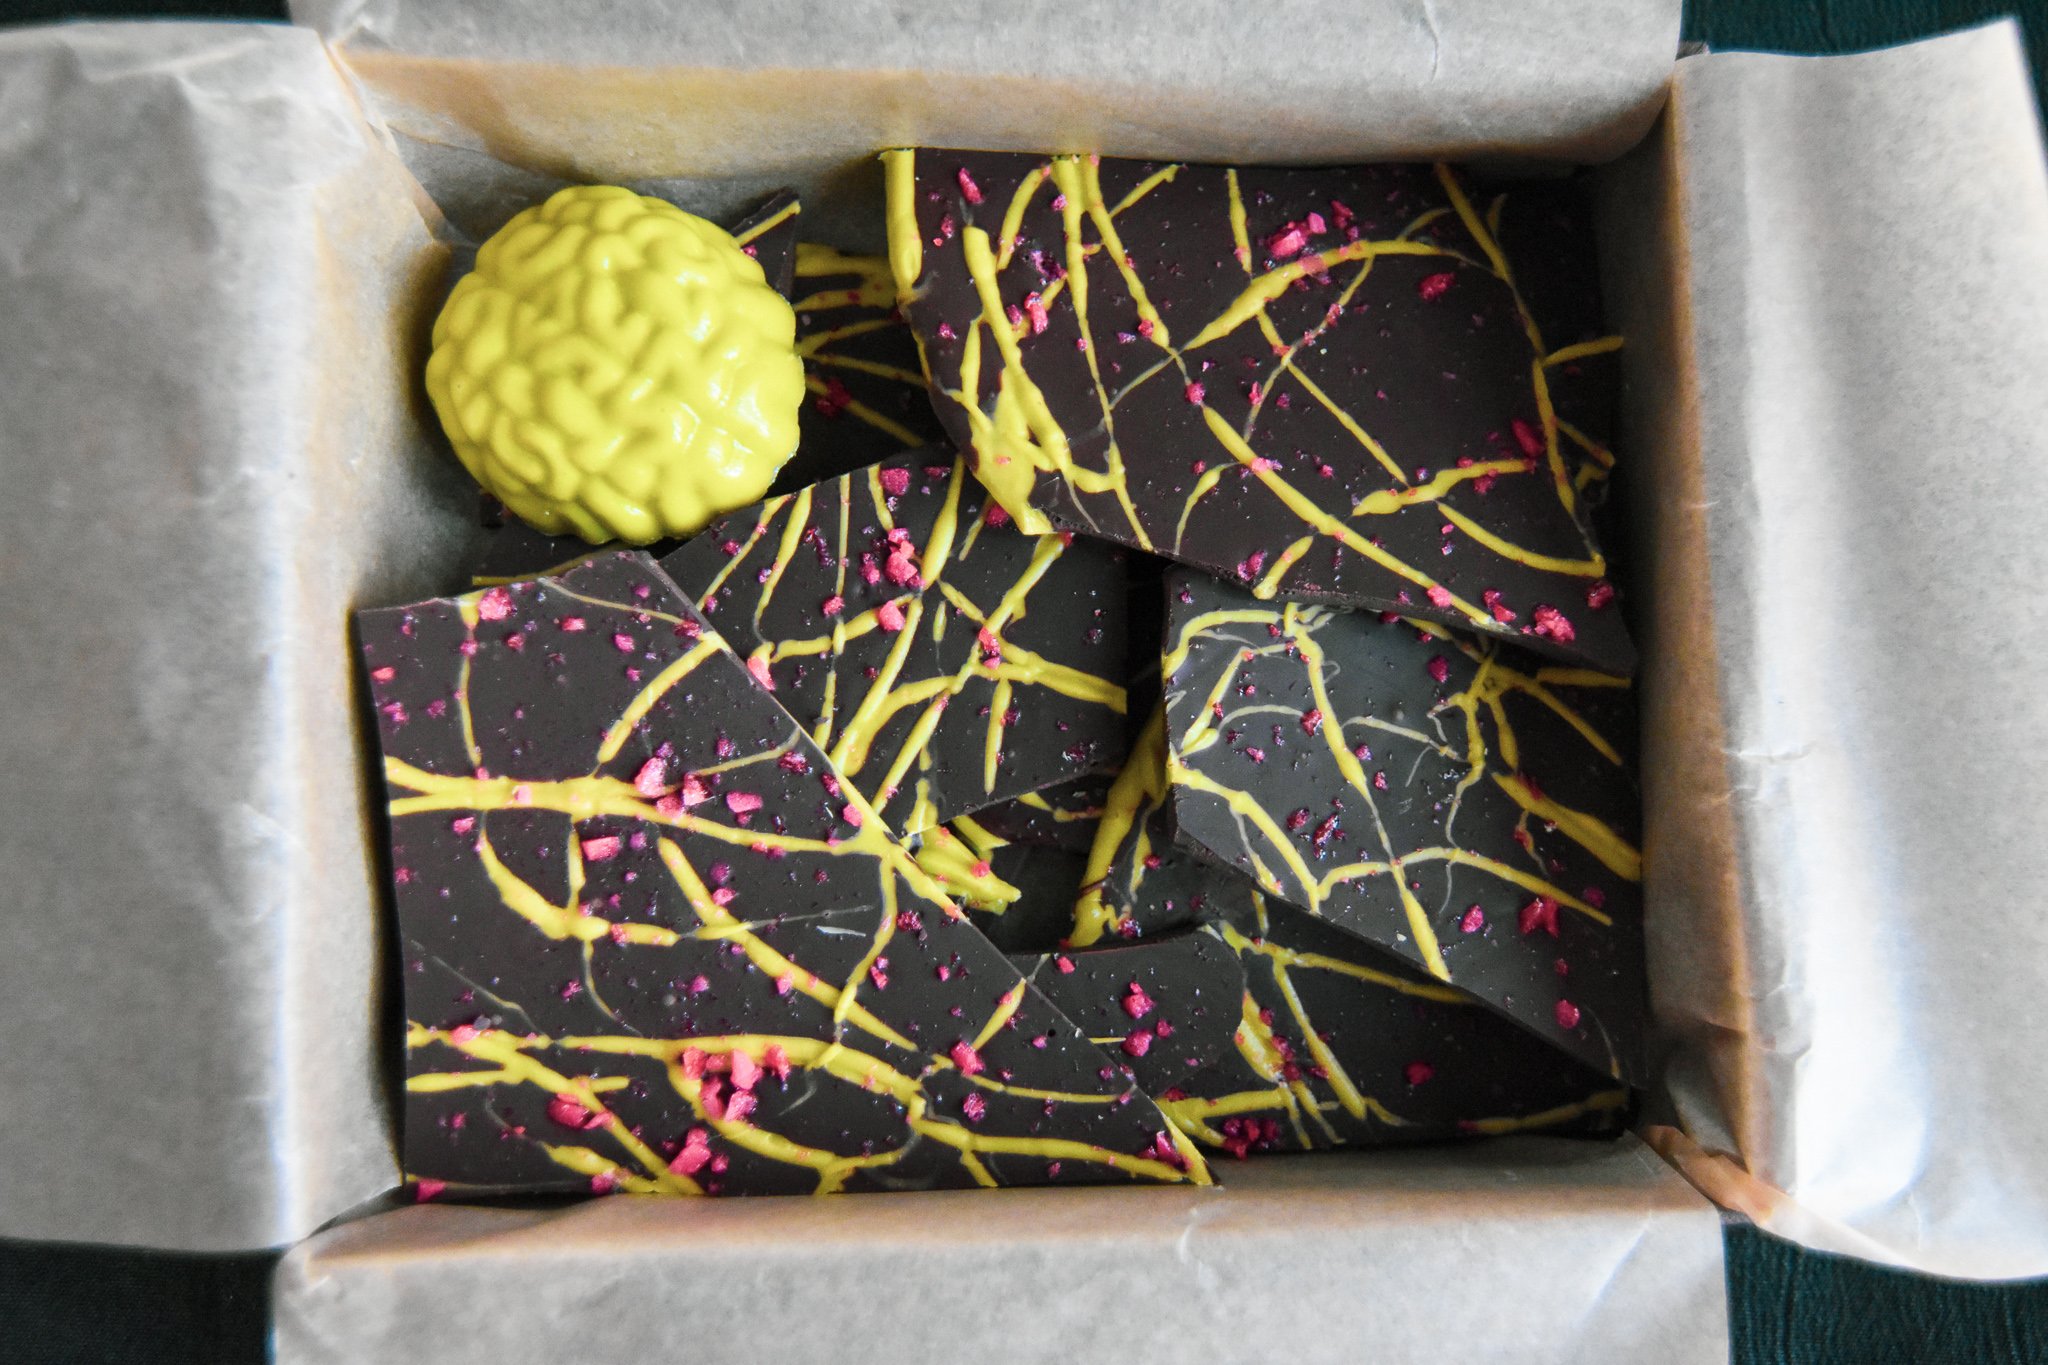
This recipe was originally created for the 2018 neon zombie party as a quick centerpiece to add to the dessert table. Barks are simple to make, forgiving for a beginner candy maker, and highly customizable. This one uses dark chocolate paired with vivid candy melts and popping candies for some high contrast and retro 80s nostalgia. These are loose instructions; chocolate bark is free form fun that you can scale up as desired.


Ingredient List:
Chocolate, chopped (used here: dark chocolate)
Neon colored candy melts (used here: lime green melts)
Popping candies (used here: strawberry flavored candies)
To get a chocolate bark that has a snap when it breaks and a shiny coating, temper* the chocolate. Bring a saucepan with a small amount of water to a simmer. Place a stainless steel bowl over the water; the bowl should not touch the water and should sit securely enough on the pan to safely stir it. Toss in two-thirds of the chocolate. Use a candy thermometer or infrared thermometer to monitor the temperature. Stir continuously until the chocolate is between 110-115F. Remove the bowl from the pan of water and let cool to 95-100F. Gradually stir in the remaining third of chocolate bits until smooth. Pour the melted chocolate onto a silicone or parchment lined sheet pan. Spread to a thickness of 1/8-1/4 inch. Working quickly, melt the neon candy melts; these do not require tempering and can be melted at 30 second intervals in a microwave. Drizzle the neon candy melts over the dark chocolate using a spoon or piping bag. Allow to cool slightly then sprinkle on popping candy. Store in a cool place to harden or place in freezer for 5-10 minute to speed set (avoid refrigeration which may lead to condensation that will prematurely activate the candy and generate crystal buildup on the chocolate). Break into chunks and package as desired. This particular bark will not keep long due to the use of popping candies which will begin to deteriorate when the CO2 in them is exposed to moisture in the air.
*There are a few schools of thought on this process (slow heating method where the chocolate never goes above a certain temperature versus heating-cooling-reheating to varying temperatures), but I like the short and fast method described above. One of the most important tenants of chocolate melting is to avoid getting water/steam in your chocolate which will cause it to “seize” into a mass. If the chocolate is heating too quickly, remove from heat at intervals or place a towel between the bowl and pan of water for additional insulation. Fret not if something goes wrong with tempering. It will still taste yummy even if the bark is a little…flaccid.

To package this chocolate bark, I recycled an empty candy box from Valentines past. First, I brushed on some orange and green acrylic paint. I hand drew some pop art style zombie “stickers” on tracing paper with permanent markers and decoupaged them to the box for a punk look. In addition to the chocolate bark, I made a couple of molded brains with some leftover neon candy melts for an extra surprise for my living dead. The great thing about this project is that it’s forgiving. After all, a deteriorating corpse made it.

