DIY: PAPER fans
This simple craft project is kid-friendly and always makes a room feel like a party without blowing the budget.
Materials list:
12 inch by 12 inch paper
Adhesive (glue or double sided tape)
String
Ruler
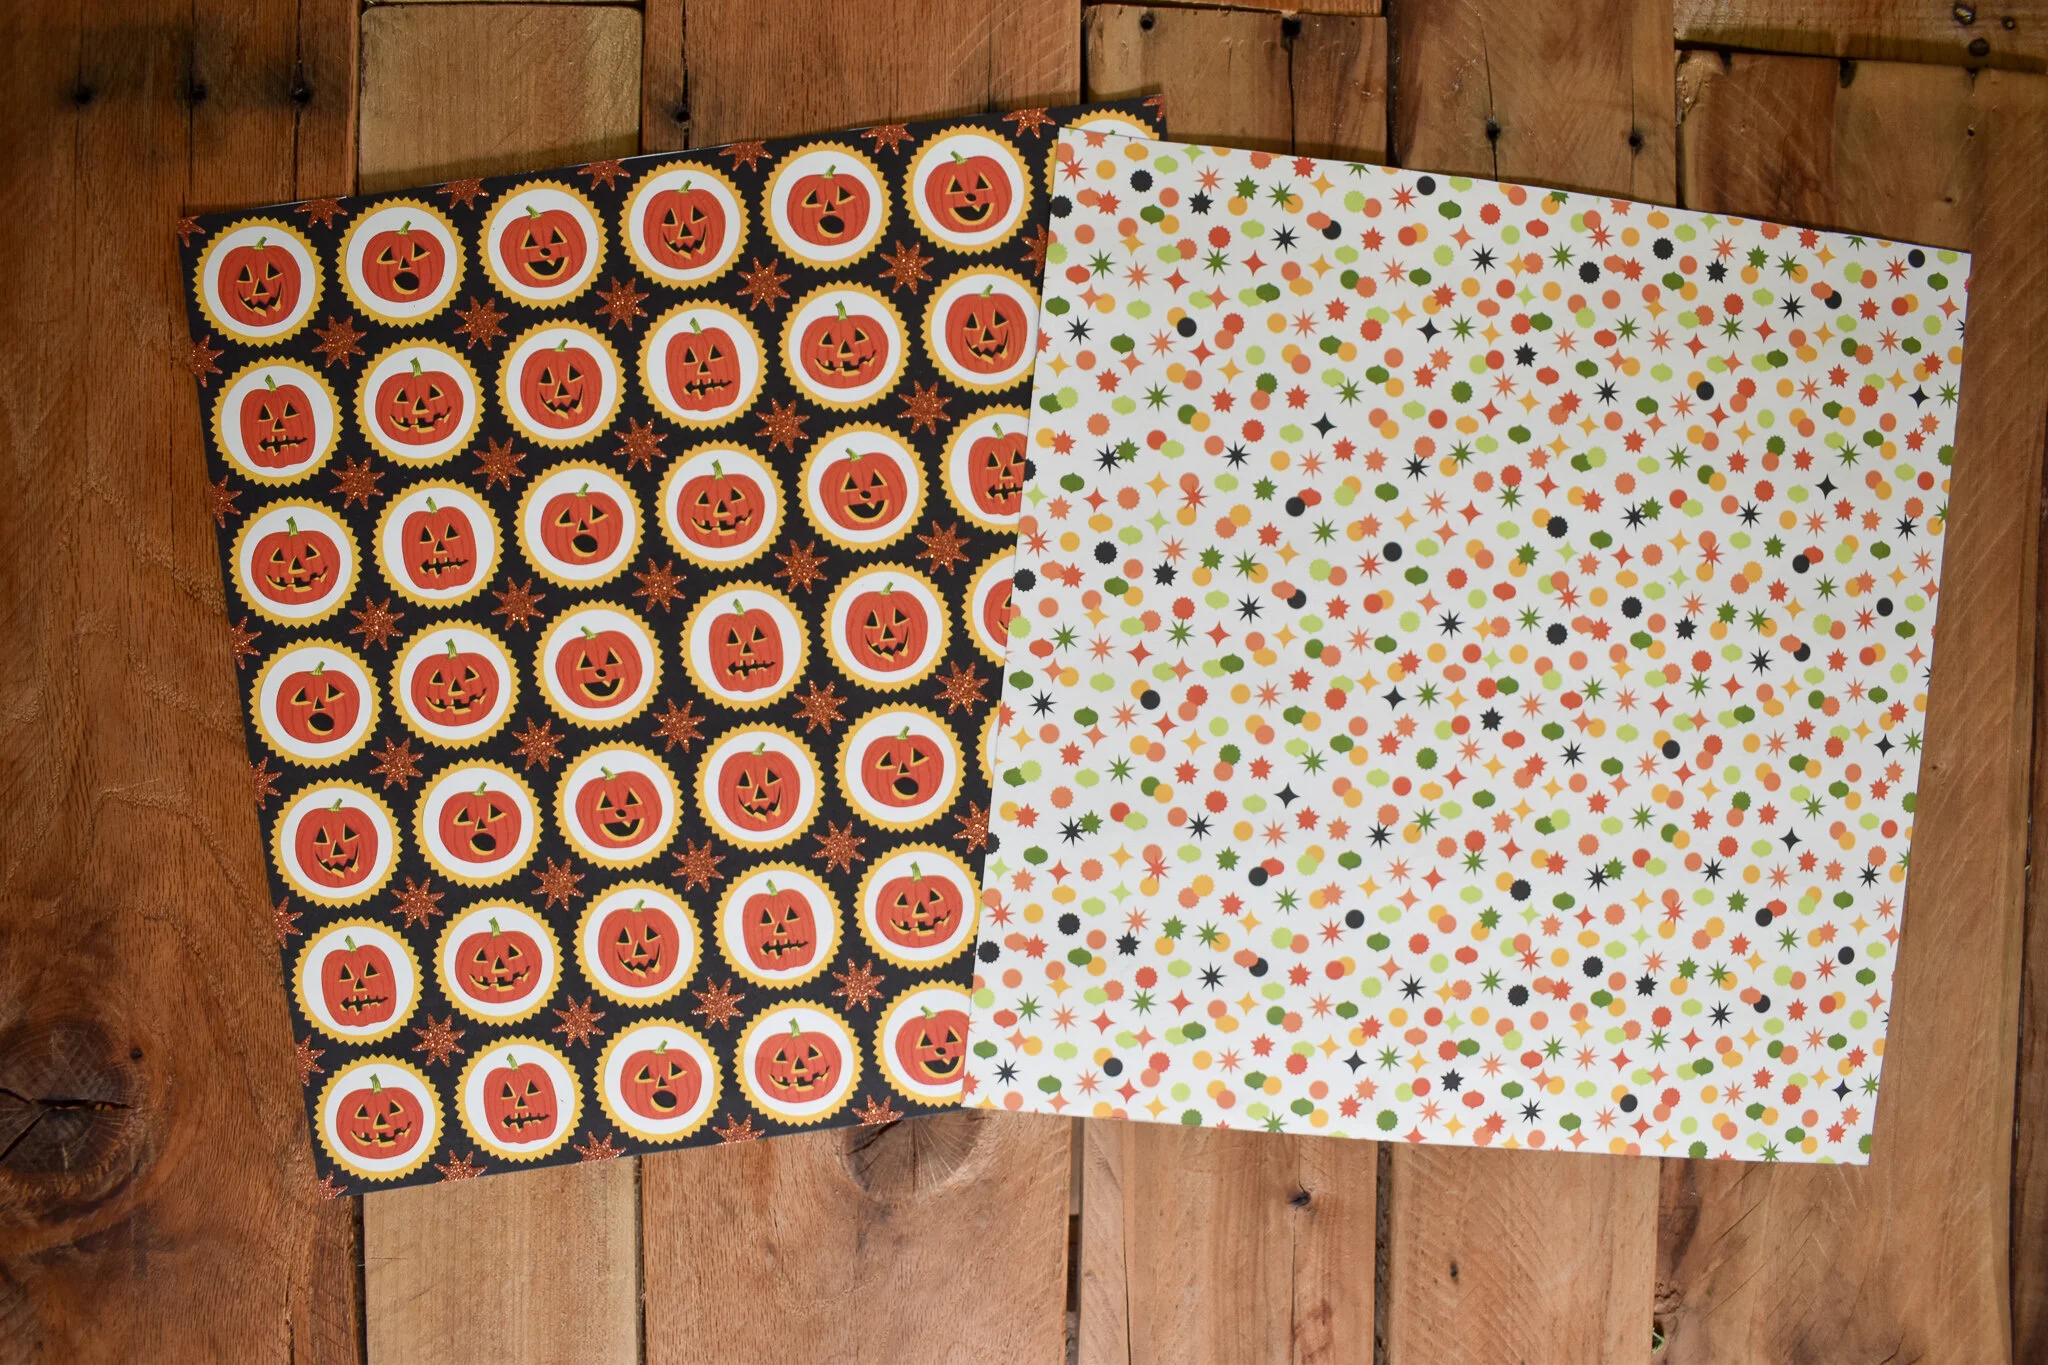
For a large fan, start with two 12 inch x 12 inch sheets of paper. Both sides of the paper will be visible in the finished fan, so choose a paper that has a print on both sides.

Make a 1 inch fold along one edge of the paper. I like to use a ruler to make a crisp crease especially when using a thicker weight paper.

Flip the paper and make another fold in the opposite direction trying to make the folds as even as possible.

Continue accordion folding until both sheets of paper are complete.

Use an adhesive to attach the ends of the two pieces of paper together. The final product will look more symmetrical if they are attached with one accordion facing up and the other accordion facing down.

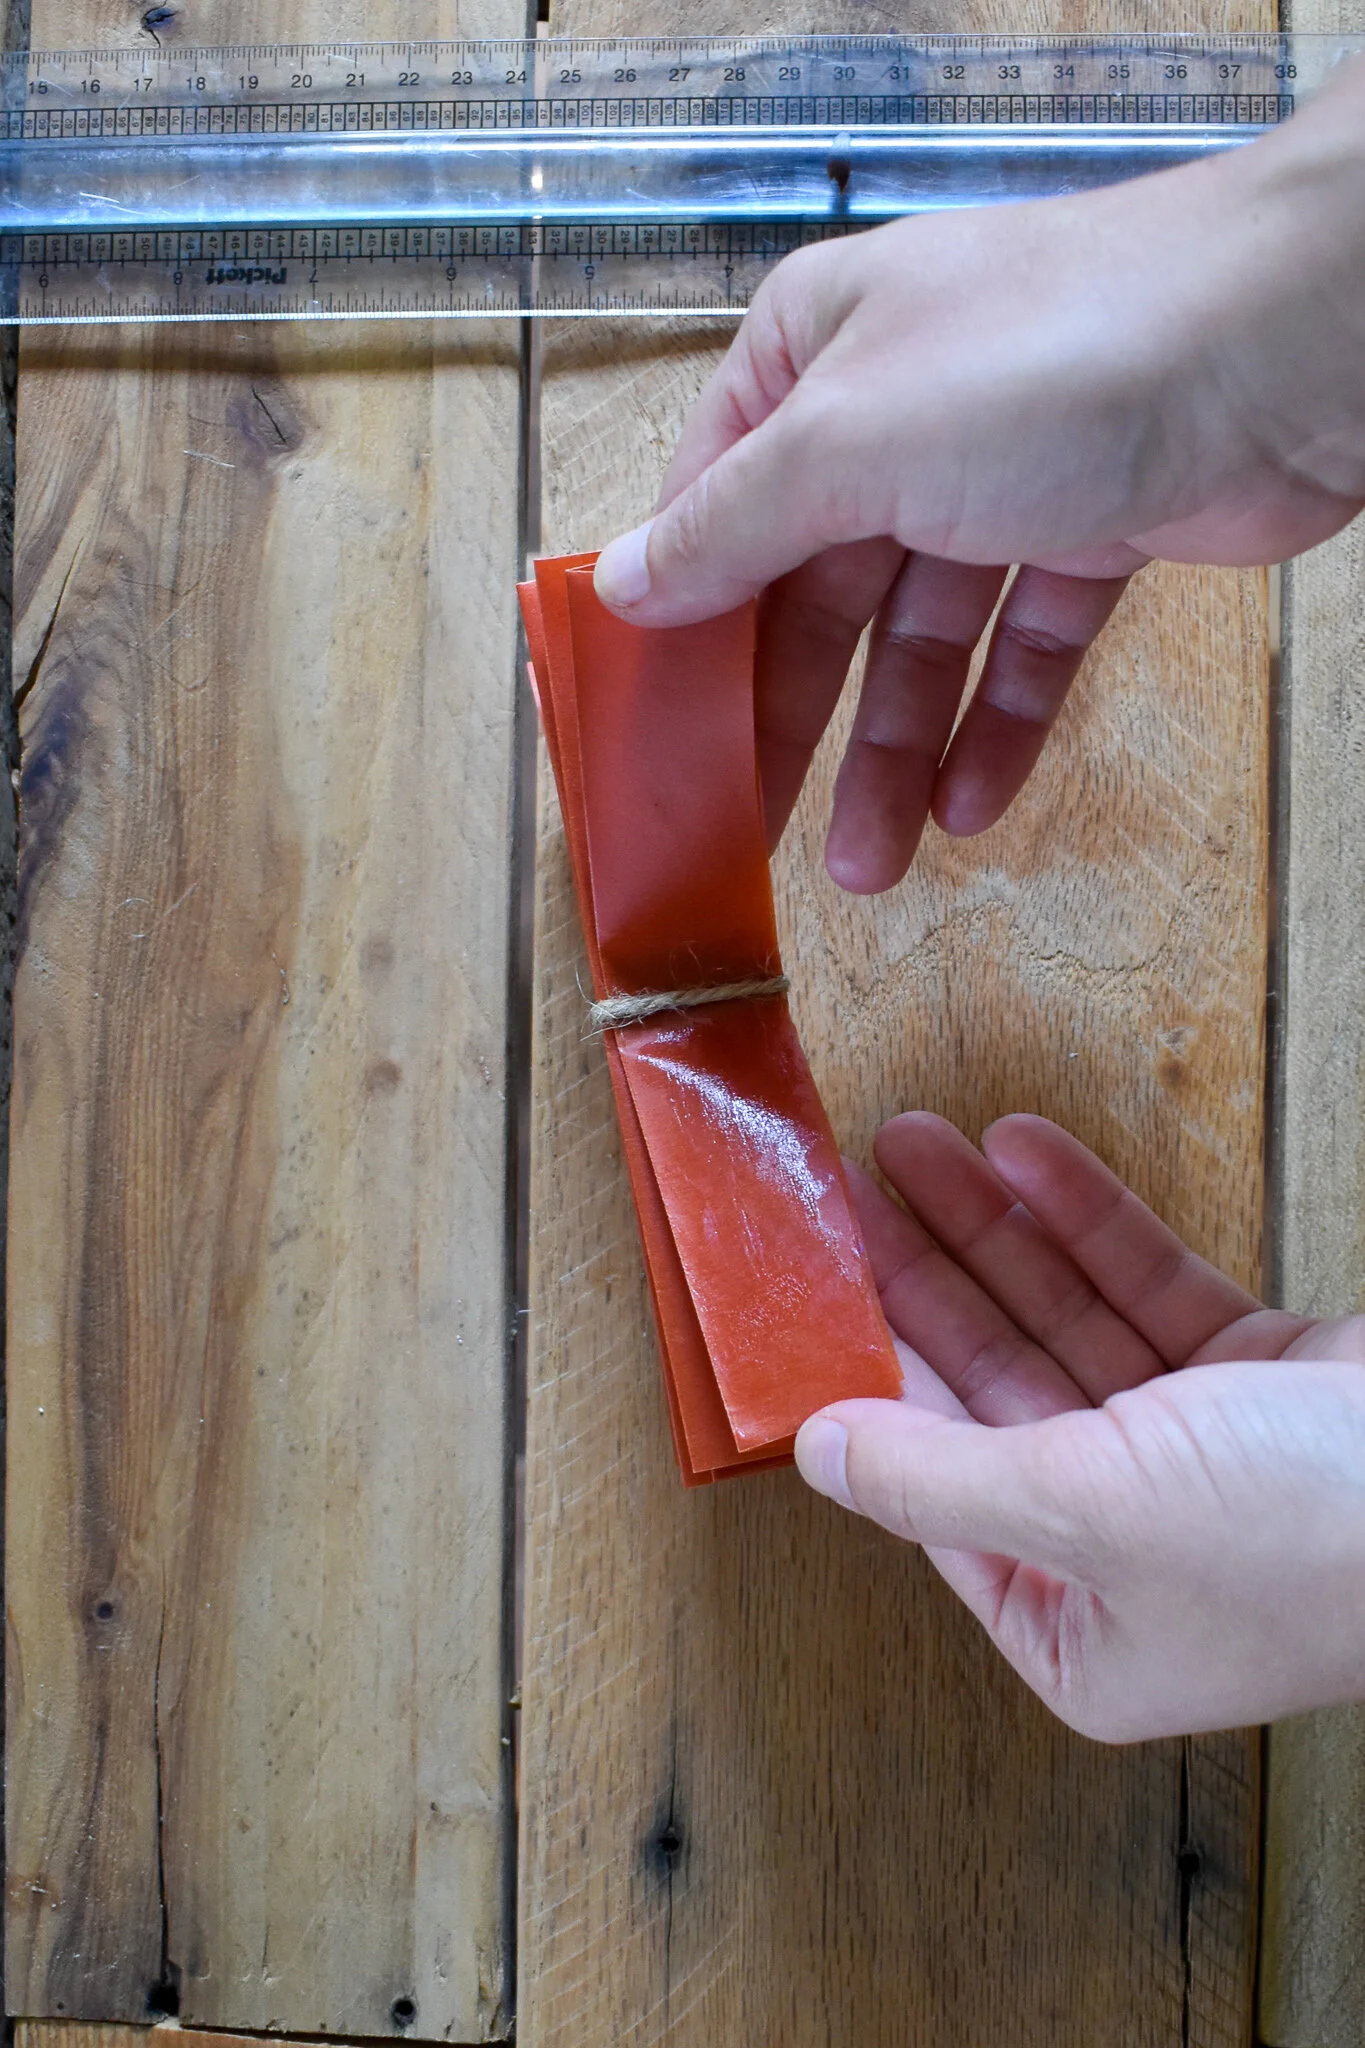
Gather the fans into a stack and locate the center of the bundle. Finding the middle will make the fan into a perfect circle when it opens.

Use a string to tie the bundle together in the center.

Add adhesive to the edges. I like double sided tape for this project because it doesn’t require any dry time; it also allows for the fans to be made ahead of time and stored flat until ready to use.

For the final step, open up two sides of the fan and stick them together being careful to line up the edges. If using glue, employ clamps, paper clips, or clothespins to hold the fan together while it dries.

Hang the fans and celebrate!
Variation: for a small fan, use a single 12 inch x 12 inch paper folded in half. Accordion fold starting on the short edge. Because the paper is doubled up, use a lighter weight paper.